
Living along the Wasatch Front brings distinct seasonal shifts. From snowy Utah winters to hot, dry summers in Kaysville, Layton, and Syracuse, indoor environments experience constant humidity and temperature swings. Subsurface concrete slabs in local basements and ground level floors naturally draw in ground moisture and shift alongside local soil movements. When updating your living area with stylish and durable laminate flooring, setting up a solid foundation is the single most essential step to ensure lasting beauty and structural stability underfoot.
As dedicated flooring experts, our team at Generation Floors knows that a finished floor is only as reliable as the base underneath it. Proper subfloor preparation eliminates annoying hollow sounds, avoids seam separation, and shields your home against unseen moisture intrusion. Whether you are refreshing a family room in Farmington or finishing a basement in Clearfield or Centerville, following a thorough prep checklist keeps your investment protected for years to come.
Essential Subfloor Preparation Checklist
1. Deep Clean and Clear the Concrete
Start by clearing the space entirely of furniture, old floor coverings, tack strips, and baseboards. Sweep the entire slab thoroughly, followed by a detailed vacuuming to remove fine silica dust. Any lingering drywall joint compound, paint drips, or residual carpet adhesive must be scraped away completely. Leftover debris creates micro-bumps underneath floating planks, leading to uneven wear and unwanted friction.
2. Perform Ground Moisture Testing
Concrete is a porous material that continuously absorbs ground moisture and releases vapor into your home. Before opening any boxes, conduct a calcium chloride test or use a non-invasive moisture meter to evaluate moisture emission levels. If test results exceed recommended standards, a specialized moisture mitigation system or high-grade vapor membrane must be applied to prevent the wood fiber core of your planks from swelling.
3. Level Out Dip and Peak Variations
Floating laminate systems require a uniform flat surface to click and lock together securely. Lay a ten-foot straightedge level across multiple directions on the concrete slab. Identify any high spots or low dips that vary by more than 3/16 of an inch over a ten-foot radius. Grinding down high spots and filling dips with a self-leveling cementitious patch will eliminate floor bounce and prevent the click-lock joints from failing.
4. Fill and Repair Cracks
Hairline cracks are common in settled concrete, but larger fissures require attention before laying underlayment. Clean out loose debris from all cracks and apply an epoxy patching compound or heavy-duty concrete filler. Allow the repair material to cure fully and sand or trowel it flat so it blends seamlessly with the surrounding subfloor.
5. Lay a Vapor Barrier and Underlayment
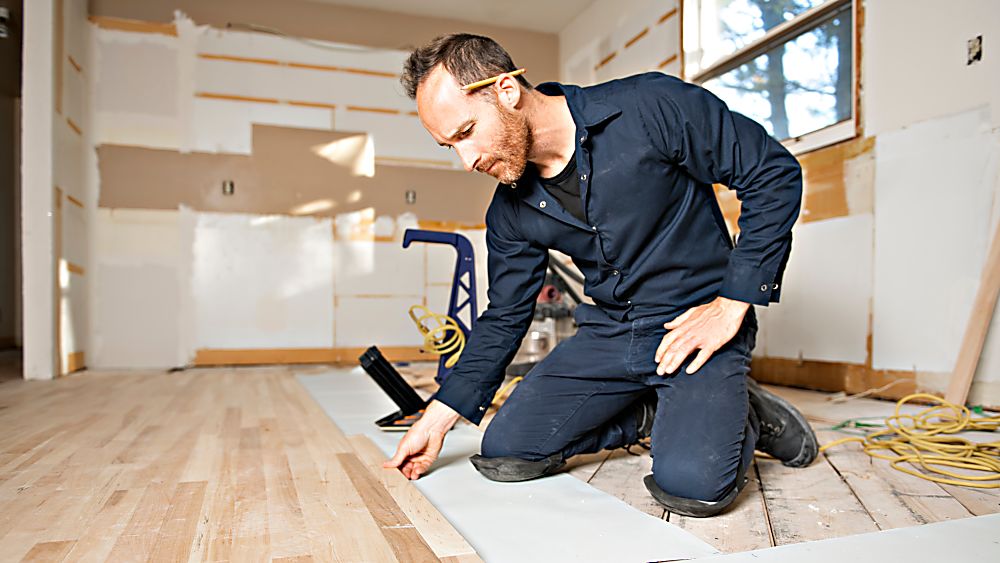
Always cover concrete subfloors with a minimum 6-mil polyethylene plastic vapor sheet. Roll out the sheeting, overlap all seams by six inches, and secure the edges with moisture-proof seam tape. Follow this step with an acoustic foam underlayment unless your planks feature pre-attached padding. This padding softens step impact, adds thermal warmth, and minimizes hollow footstep sounds.
Harmonizing Your Floors with Complete Home Updates
Subfloor preparation forms the backbone of successful interior transformations. If your project extends into neighboring spaces, pairing your new floors with beautifully crafted cabinets and durable countertops helps build a harmonious design throughout the entire house. Many homeowners choose durable laminate for main gathering spaces while specifying resilient luxury vinyl or custom tile in high-moisture entryways and powder rooms.
For major space reconsiderations, unifying your main floor updates with full kitchen and bathroom remodeling produces smooth architectural transitions from room to room. As a trusted local flooring company, our mobile shop at home service delivers realistic physical samples straight to your door, allowing you to review finishes under your actual household lighting.
Frequently Asked Questions About Concrete Preparation
Is a vapor barrier necessary over every concrete slab?
Yes. Concrete perpetually releases ground moisture vapor regardless of how dry it appears on the surface. Installing a 6-mil poly barrier prevents trapped moisture from causing seam expansion, plank warping, or mold accumulation underneath your installation.
Can underlayment pad smooth out uneven concrete floors?
Underlayment foam compensates for minor pinhole imperfections, but it cannot bridge noticeable dips or concrete humps. Skipping floor leveling leads to unwanted vertical movement, creaking, and early damage to the interlocking joint system.
How long must fresh concrete dry before installing laminate?
Newly poured concrete slabs generally require 60 to 90 days to cure completely before floor covering installations. Always conduct official relative humidity or calcium chloride tests right before installation to confirm the slab is sufficiently dry.
Partner with Utah Flooring Specialists
Executing proper subfloor preparation demands proven technical knowledge, proper gear, and careful attention to detail. With decades of hands-on experience across Northern Utah, our team provides dependable craftsmanship and honest guidance for every home project. Read more about our story on our about us page, browse our laminate flooring info guide, or schedule a personal site visit today by requesting a free estimate.